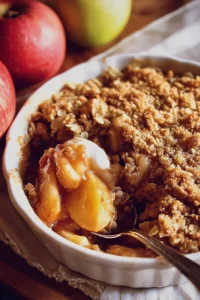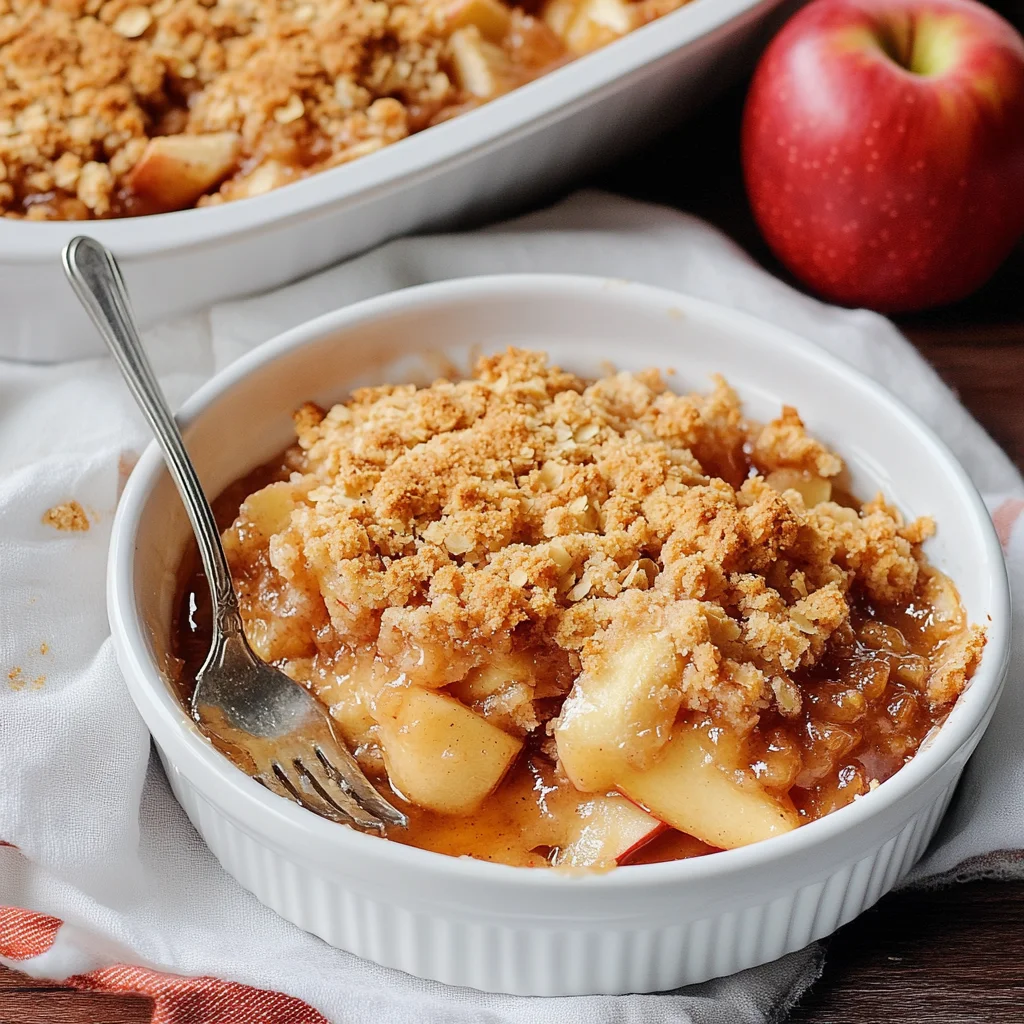
Introduction to Easy Apple Crisp
There’s something magical about the aroma of baked apples wafting through the house. It takes me back to my childhood, where my grandmother would whip up her famous apple crisp every fall. This Easy Apple Crisp recipe is a delightful nod to those memories, perfect for busy days when you crave something comforting yet simple. With just a handful of ingredients, you can create a dish that impresses family and friends alike. Whether it’s a weeknight treat or a special occasion, this dessert is sure to warm hearts and satisfy sweet cravings.
Why You’ll Love This Easy Apple Crisp
This Easy Apple Crisp is a game-changer for anyone who loves dessert but is short on time. It comes together in just 15 minutes, making it a quick solution for those busy evenings. The combination of sweet, tender apples and a crunchy oat topping creates a delightful contrast that’s hard to resist. Plus, it’s a versatile dish that can be enjoyed warm or cold, with or without ice cream!
Ingredients for Easy Apple Crisp
Gathering the right ingredients is the first step to creating this delightful Easy Apple Crisp. Here’s what you’ll need:
- Apples: Use 6 cups of peeled and sliced apples, like Granny Smith or Honeycrisp. Their tartness balances the sweetness perfectly.
- Lemon Juice: A tablespoon of lemon juice brightens the flavors and prevents the apples from browning.
- Granulated Sugar: Half a cup adds sweetness to the apples, enhancing their natural flavor.
- Cinnamon: One teaspoon of ground cinnamon brings warmth and a cozy aroma to the dish.
- Nutmeg: Optional, but a half teaspoon of ground nutmeg adds a lovely depth of flavor.
- Rolled Oats: One cup of rolled oats gives the topping its signature crunch and heartiness.
- All-Purpose Flour: A cup of flour helps bind the topping together, creating a delightful texture.
- Brown Sugar: Half a cup of packed brown sugar adds a rich, caramel-like sweetness to the oat mixture.
- Unsalted Butter: Half a cup of melted butter is essential for that golden, crispy topping.
- Salt: A pinch of salt enhances all the flavors, balancing the sweetness.
For those looking to mix things up, consider adding nuts or dried fruit to the oat topping for extra texture and flavor. You can find the exact measurements for each ingredient at the bottom of the article, ready for printing!
How to Make Easy Apple Crisp
Creating this Easy Apple Crisp is a breeze! Follow these simple steps, and you’ll have a warm, delicious dessert ready in no time. Let’s dive in!
Step 1: Preheat the Oven
Start by preheating your oven to 350°F. This step is crucial because it ensures even baking. While the oven heats up, lightly grease a 9×13-inch baking dish or spray it with non-stick cooking spray. A well-prepared dish helps the crisp come out easily and prevents sticking.
Step 2: Prepare the Apples
Next, grab those apples! In a large mixing bowl, toss the sliced apples with a tablespoon of lemon juice, half a cup of granulated sugar, one teaspoon of ground cinnamon, and, if you like, a half teaspoon of nutmeg. The lemon juice brightens the flavors and keeps the apples from browning. Make sure every slice is coated well, then spread the apple mixture evenly in the bottom of your prepared baking dish.
Step 3: Make the Oat Topping
Now, let’s whip up that crunchy oat topping! In another bowl, combine one cup of rolled oats, one cup of all-purpose flour, half a cup of packed brown sugar, and a pinch of salt. Pour in half a cup of melted unsalted butter and mix until crumbly. This mixture should be well combined but still have some texture. It’s the secret to that delightful crunch!
Step 4: Assemble the Dish
Time to bring it all together! Sprinkle the oat mixture evenly over the apples in the baking dish. Make sure to cover the apples completely. This layer of oats will create a beautiful, golden crust as it bakes. It’s like a cozy blanket for those sweet apples!
Step 5: Bake to Perfection
Pop the dish into your preheated oven and bake for about 35 to 40 minutes. Keep an eye on it! You’ll know it’s ready when the top is golden brown and the apples are bubbling around the edges. The aroma will fill your kitchen, making it hard to resist. Let it cool for a few minutes before serving, and enjoy the warm, comforting flavors of your Easy Apple Crisp.
Tips for Success
- Use a mix of sweet and tart apples for a balanced flavor.
- Don’t skip the lemon juice; it brightens the dish and keeps apples fresh.
- For extra crunch, add chopped nuts like walnuts or pecans to the topping.
- Let the crisp cool slightly before serving to allow the juices to set.
- Serve with a scoop of vanilla ice cream for a delightful contrast!
Equipment Needed
- Baking Dish: A 9×13-inch dish is ideal, but any similar-sized oven-safe dish will work.
- Mixing Bowls: Use two medium bowls for mixing the apple filling and oat topping.
- Measuring Cups: Essential for accurate ingredient portions; a kitchen scale can be a handy alternative.
- Spatula: Great for spreading the oat topping evenly over the apples.
Variations
- Nutty Delight: Add a half cup of chopped walnuts or pecans to the oat topping for an extra crunch.
- Fruit Fusion: Mix in a cup of dried cranberries or raisins for a sweet and chewy contrast.
- Spiced Up: Experiment with spices like ginger or allspice for a unique flavor twist.
- Gluten-Free Option: Substitute all-purpose flour with gluten-free flour and use certified gluten-free oats.
- Vegan Version: Replace butter with coconut oil or a vegan butter alternative, and use maple syrup instead of granulated sugar.
Serving Suggestions
- Pair your Easy Apple Crisp with a scoop of vanilla ice cream for a classic dessert experience.
- Serve it warm with a drizzle of caramel sauce for an indulgent touch.
- For a cozy vibe, enjoy it with a cup of hot cider or coffee.
- Garnish with fresh mint leaves for a pop of color and freshness.
FAQs about Easy Apple Crisp
Got questions about this Easy Apple Crisp? You’re not alone! Here are some common queries that might help you out:
Can I use frozen apples for this recipe?
Absolutely! Just make sure to thaw and drain them well before using. Frozen apples can work in a pinch, but fresh apples give the best flavor and texture.
How do I store leftovers?
Store any leftover Easy Apple Crisp in an airtight container in the refrigerator for up to three days. Reheat in the oven or microwave before serving for the best taste.
Can I make this ahead of time?
Yes! You can prepare the apple filling and oat topping separately and store them in the fridge. Assemble and bake when you’re ready to serve.
What’s the best way to serve it?
For a delightful treat, serve your Easy Apple Crisp warm with a scoop of vanilla ice cream or a dollop of whipped cream. It’s a classic combination!
Can I substitute the oats?
If you’re looking for a gluten-free option, you can use gluten-free oats. Alternatively, you can try crushed graham crackers or a nut-based topping for a different texture.
Final Thoughts
Making this Easy Apple Crisp is more than just baking; it’s about creating memories and sharing joy. The warm, inviting aroma fills your home, wrapping you in a cozy embrace. Each bite offers a delightful crunch paired with sweet, tender apples, making it a dessert that brings smiles all around. Whether you’re enjoying it solo with a cup of coffee or sharing it with loved ones, this recipe is a reminder of the simple pleasures in life. So, roll up your sleeves, gather your ingredients, and let the magic of apple crisp brighten your day!