Introduction to Cheeseburger Sliders
There’s something undeniably comforting about a cheeseburger, isn’t there? Now, imagine that same deliciousness packed into a bite-sized slider. Cheeseburger sliders are the ultimate party snack, perfect for gatherings or just a cozy night in. They’re quick to whip up, making them a lifesaver for busy days when you want to impress your friends or family without spending hours in the kitchen. Plus, they’re customizable, so everyone can enjoy their favorite toppings. Trust me, once you serve these sliders, they’ll be the star of the show!
Why You’ll Love This Cheeseburger Sliders
Cheeseburger sliders are a game-changer for any gathering. They’re incredibly easy to make, allowing you to spend less time in the kitchen and more time enjoying the company of friends. The taste? Absolutely mouthwatering! Each slider is a burst of flavor, with juicy beef and melty cheese. Plus, they’re perfect for picky eaters since everyone can customize their toppings. Trust me, these sliders will have everyone coming back for seconds!
Ingredients for Cheeseburger Sliders
Gathering the right ingredients is key to making delicious cheeseburger sliders. Here’s what you’ll need:
- Ground beef: An 80/20 blend is ideal for juiciness. It strikes the perfect balance between flavor and moisture.
- Garlic powder: This adds a savory depth to the beef, enhancing the overall flavor.
- Onion powder: A must-have for that classic burger taste, it complements the garlic beautifully.
- Salt: Essential for bringing out the natural flavors of the meat.
- Black pepper: A pinch of this adds a subtle kick to each bite.
- Worcestershire sauce: This secret ingredient adds umami and richness, making the sliders irresistible.
- Slider buns: Choose soft, fluffy buns that can hold all the deliciousness without falling apart.
- Cheddar cheese: Halved slices melt perfectly over the patties, adding that gooey goodness we all love.
- Dill pickles: Sliced pickles provide a tangy crunch that balances the richness of the beef.
- Ketchup: A classic condiment that adds sweetness and moisture.
- Mustard: For a bit of tang, mustard is a must-have on any burger.
- Mayonnaise (optional): Adds creaminess, but feel free to skip it if you prefer a lighter option.
- Fresh lettuce leaves (optional): For a refreshing crunch, lettuce can be a great addition.
- Sliced tomatoes (optional): Juicy tomatoes add freshness and color to your sliders.
For exact measurements, check the bottom of the article where you can find everything listed for easy printing. Feel free to get creative with your toppings and make these sliders your own!
How to Make Cheeseburger Sliders
Creating cheeseburger sliders is a straightforward process that guarantees delicious results. Follow these simple steps, and you’ll have a platter of mouthwatering sliders ready to impress your guests.
Step 1: Preheat the Oven
Start by preheating your oven to 350°F. This step is crucial because it ensures even cooking. While the oven heats up, line a baking sheet with parchment paper. This makes cleanup a breeze later on, so you can focus on enjoying your sliders instead of scrubbing pans!
Step 2: Prepare the Beef Mixture
In a large mixing bowl, combine the ground beef, garlic powder, onion powder, salt, black pepper, and Worcestershire sauce. Mix gently until just combined. Be careful not to overmix; this can lead to tough sliders. You want a tender, juicy bite, not a hockey puck!
Step 3: Shape the Patties
Divide the beef mixture into 12 equal portions. Shape each portion into small patties, about 2 inches wide. Make a slight indentation in the center of each patty. This helps them cook evenly and prevents them from puffing up while grilling.
Step 4: Cook the Patties
Heat a large skillet or griddle over medium-high heat. Cook the patties in batches for about 3-4 minutes on each side. In the last minute of cooking, add a half slice of cheddar cheese on top of each patty. This allows the cheese to melt perfectly, creating that gooey goodness we all crave!
Step 5: Assemble the Sliders
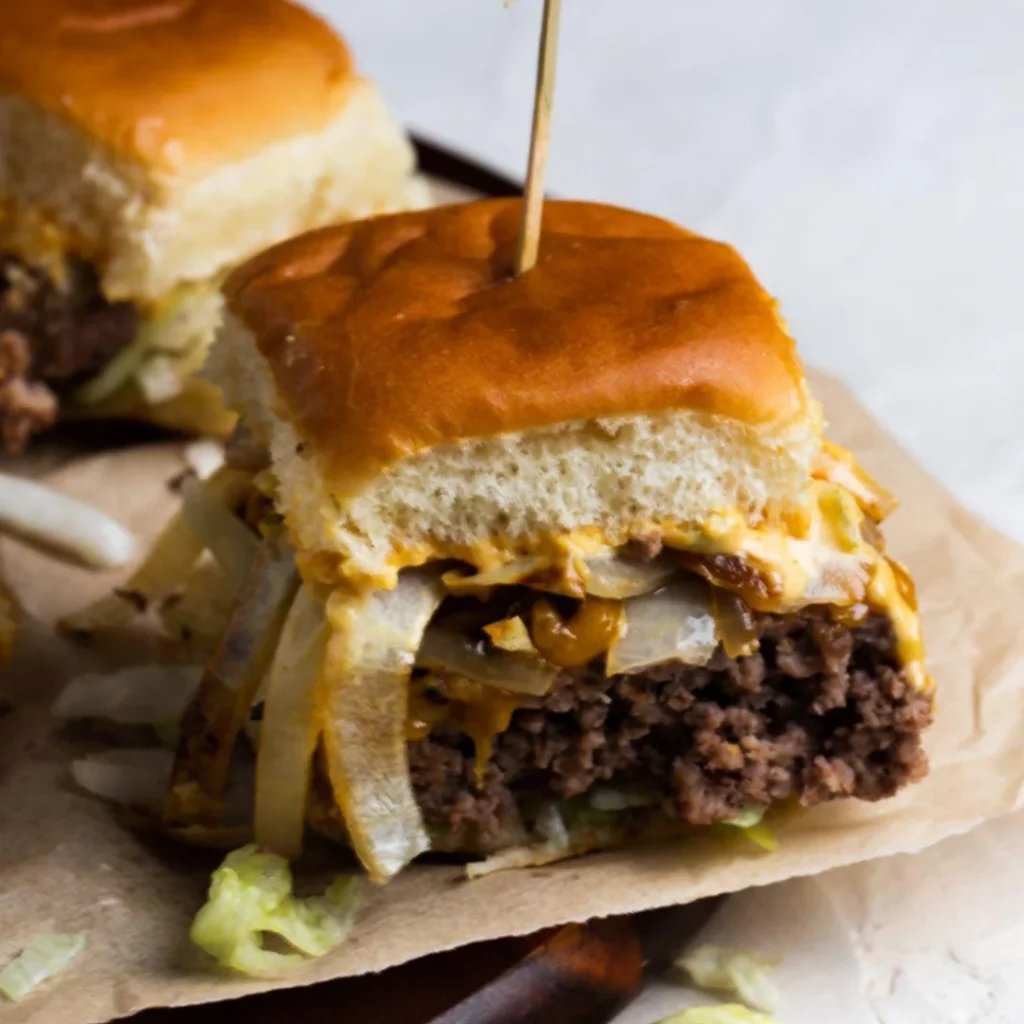
Slice the slider buns in half and place the bottom halves on the prepared baking sheet. Place each cheesy patty on a bun and layer on the sliced pickles, ketchup, mustard, and any other toppings you desire. The key here is to build flavor with each layer!
Step 6: Bake the Sliders
Once assembled, place the top halves of the buns on each slider. If you like, brush them with melted butter for an extra touch of flavor. Bake the sliders in the preheated oven for about 10 minutes. This step warms the buns and melds all the flavors together beautifully.
Step 7: Serve and Enjoy
When the sliders are done, take them out of the oven and let them cool for a minute. Serve them hot with extra condiments on the side. For a fun presentation, arrange them on a platter with colorful toothpicks. Your guests will be reaching for seconds in no time!
Tips for Success
- Use an 80/20 ground beef blend for juicy sliders.
- Don’t overmix the beef; it keeps the sliders tender.
- Make the patties slightly smaller than the buns, as they will shrink while cooking.
- Experiment with toppings to cater to different tastes.
- Prepare sliders ahead of time and reheat for easy serving.
Equipment Needed
- Large mixing bowl: A sturdy bowl for combining ingredients; a glass or metal bowl works well.
- Skillet or griddle: For cooking the patties; a non-stick pan is a great alternative.
- Baking sheet: Essential for baking the assembled sliders; a casserole dish can also do the trick.
- Parchment paper: For easy cleanup; aluminum foil is a good substitute.
Variations
- Spicy Sliders: Add jalapeños or a dash of hot sauce to the beef mixture for a kick.
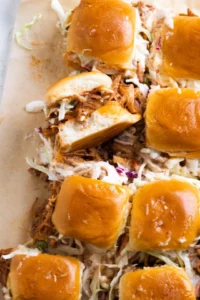
- BBQ Sliders: Mix in BBQ sauce with the beef and top with coleslaw for a tangy twist.
- Mushroom Swiss Sliders: Sauté mushrooms and onions to top the sliders, and swap cheddar for Swiss cheese.
- Veggie Sliders: Substitute ground beef with black beans or lentils for a delicious vegetarian option.
- Gluten-Free Sliders: Use gluten-free buns and ensure all condiments are gluten-free for a safe option.
Serving Suggestions
- Classic Fries: Serve with crispy French fries or sweet potato fries for a perfect pairing.
- Coleslaw: A refreshing coleslaw adds crunch and balances the richness of the sliders.
- Beer or Soda: Pair with your favorite beer or soda for a fun, casual vibe.
- Colorful Platter: Arrange sliders on a vibrant platter with colorful toothpicks for an eye-catching presentation.
FAQs about Cheeseburger Sliders
Can I make cheeseburger sliders ahead of time?
Absolutely! You can prepare the patties and assemble the sliders in advance. Just store them in the fridge and bake them right before serving. This makes them a fantastic party snack!
What type of ground beef is best for sliders?
I recommend using an 80/20 blend for cheeseburger sliders. This ratio provides the perfect balance of flavor and juiciness, ensuring each bite is delicious.
Can I customize the toppings for my sliders?
Definitely! One of the best things about cheeseburger sliders is their versatility. Feel free to add your favorite toppings, like sautéed onions, bacon, or even avocado!
How do I store leftover sliders?
Store any leftover sliders in an airtight container in the fridge. They can be reheated in the oven or microwave, but I recommend the oven for the best texture.
Are cheeseburger sliders gluten-free?
Yes, you can make gluten-free cheeseburger sliders! Just use gluten-free buns and ensure all your condiments are gluten-free. Enjoy without worry!
Final Thoughts
Cheeseburger sliders are more than just a snack; they’re a celebration of flavor and togetherness. Each bite brings back memories of backyard barbecues and laughter shared with friends. The joy of customizing these sliders means everyone can create their perfect bite, making gatherings even more special. Plus, the ease of preparation allows you to focus on what truly matters—enjoying the company of loved ones. So, whether it’s game day or a casual get-together, these sliders will undoubtedly steal the spotlight and leave everyone craving more. Trust me, they’ll become a staple in your entertaining repertoire!
Get access to this and other recipe cards - free!
✓ Free membership — no credit card required